Colour Correction / Colour Treatment / Colour Grading
Colour correction is the manipulation of film or video to look as it we perceive it in read life. Fixing exposure issue, ensuring correct white and black points are set, colour balance, as to be not too warm or not too cool. Then making this consistent across each shot.
Colour Grading is another tool the Director has to put another layer of meaning into a film setting a mood & tone or time period or location. Pulling more focus on a subject or object. Even conforming to a genre.
There is a great set of videos over at learncolorgrading.com that run through the from the basic all the way to advance colour grading.
|
|
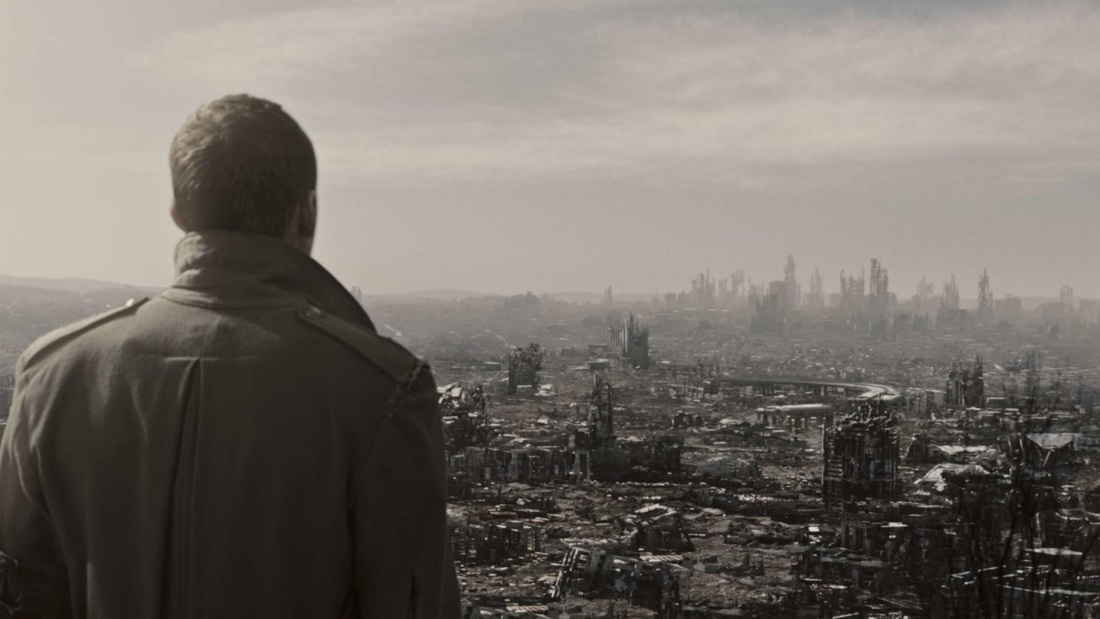
Below are a set of examples taken from films to illustrate the power of the colour treatment.
|
War/apocalypse = washed out and faded [Terminator Salvation]
|
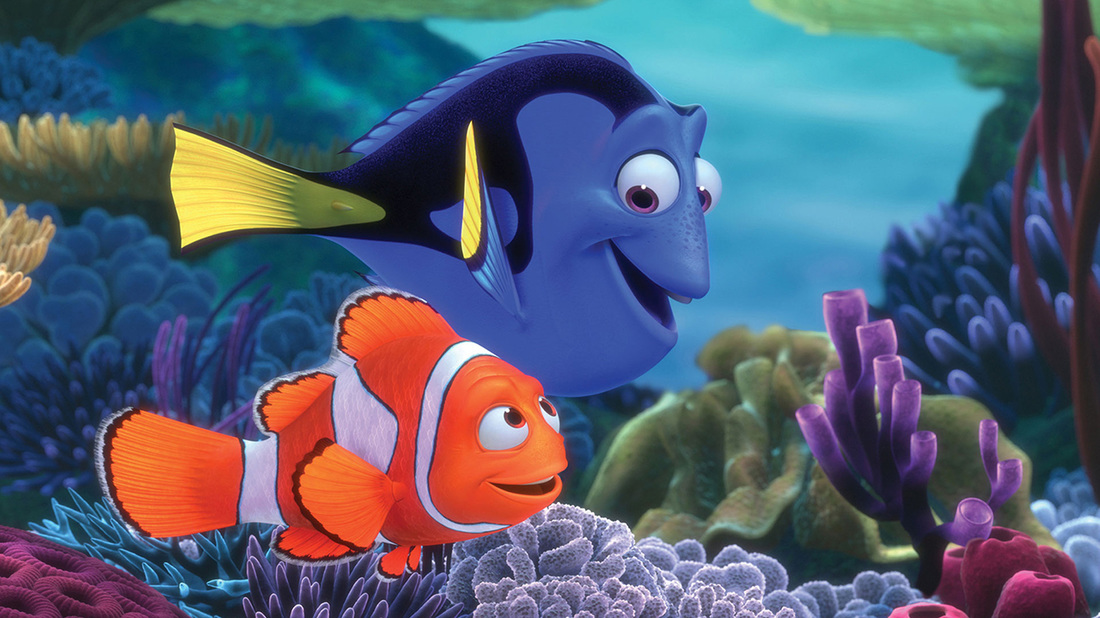
Childrens' Film = bright and vivid [Finding Nemo]
|
|
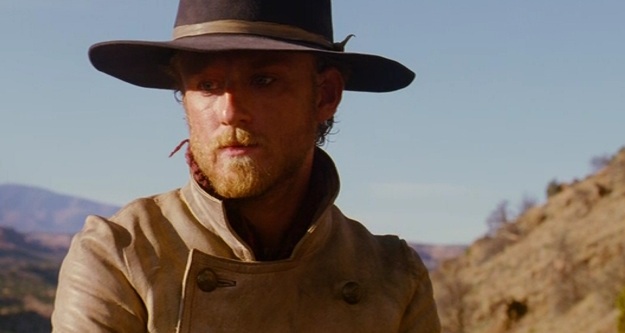
Western = Sandy yellow [3:10 to Yuma]
|
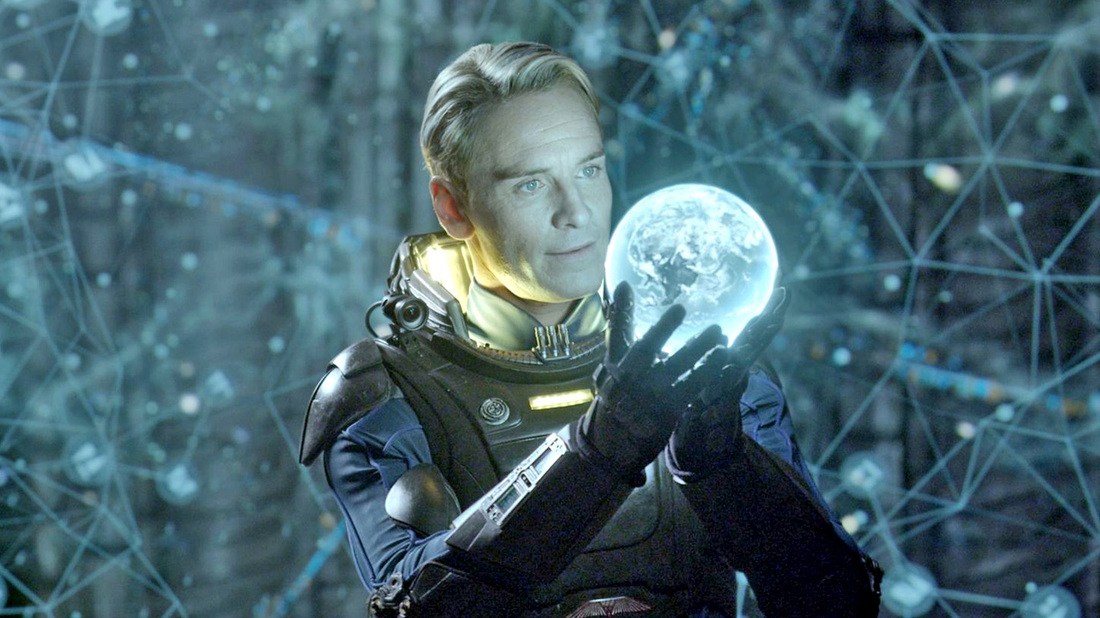
Science Fiction = blue + green [Prometheus]
|
|
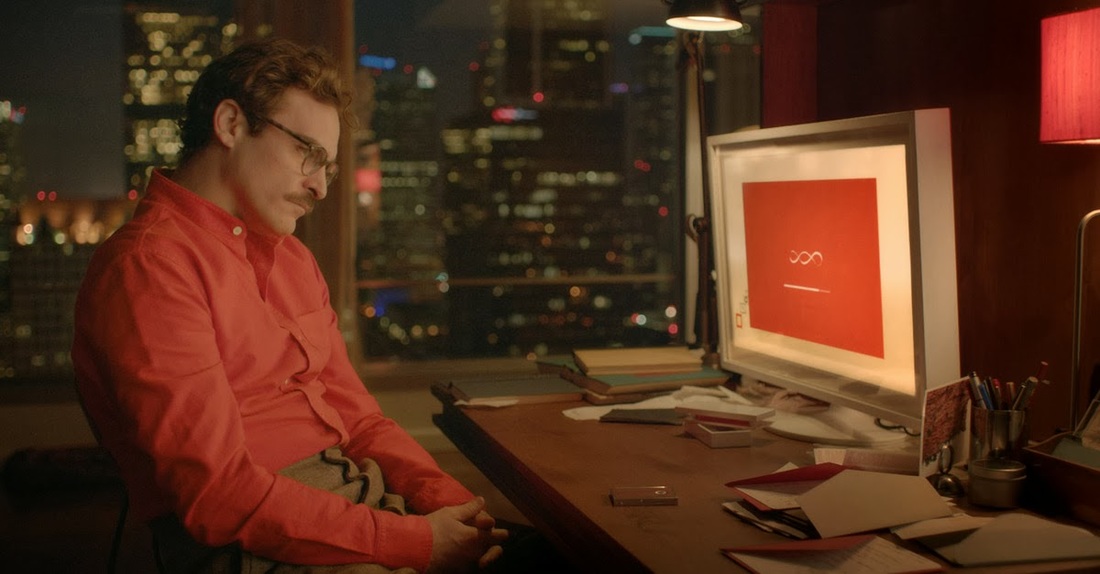
Colour repetition - Red [Her]
|
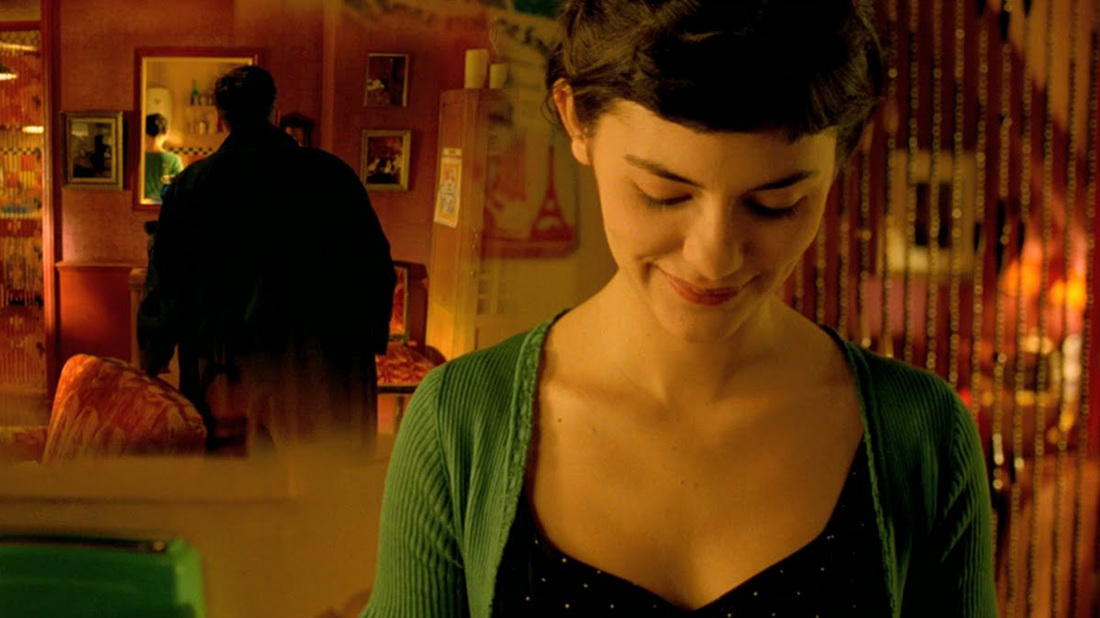
Contrasting Colour - Red/Green [Amélie]
|
|
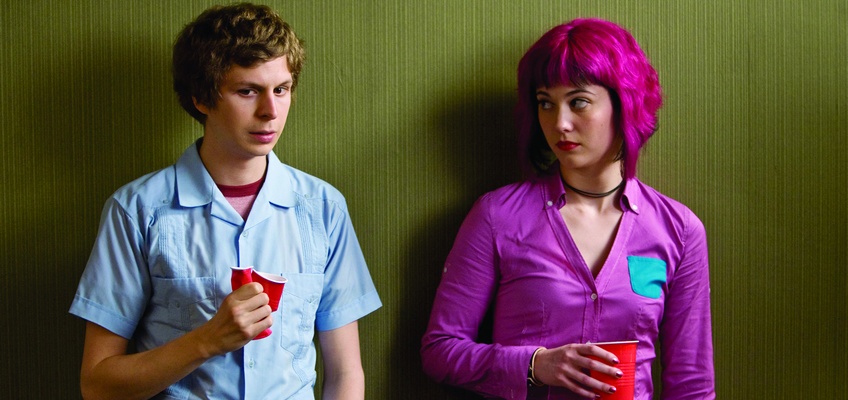
Vivid [Scott Pilgrim vs. the World]
|
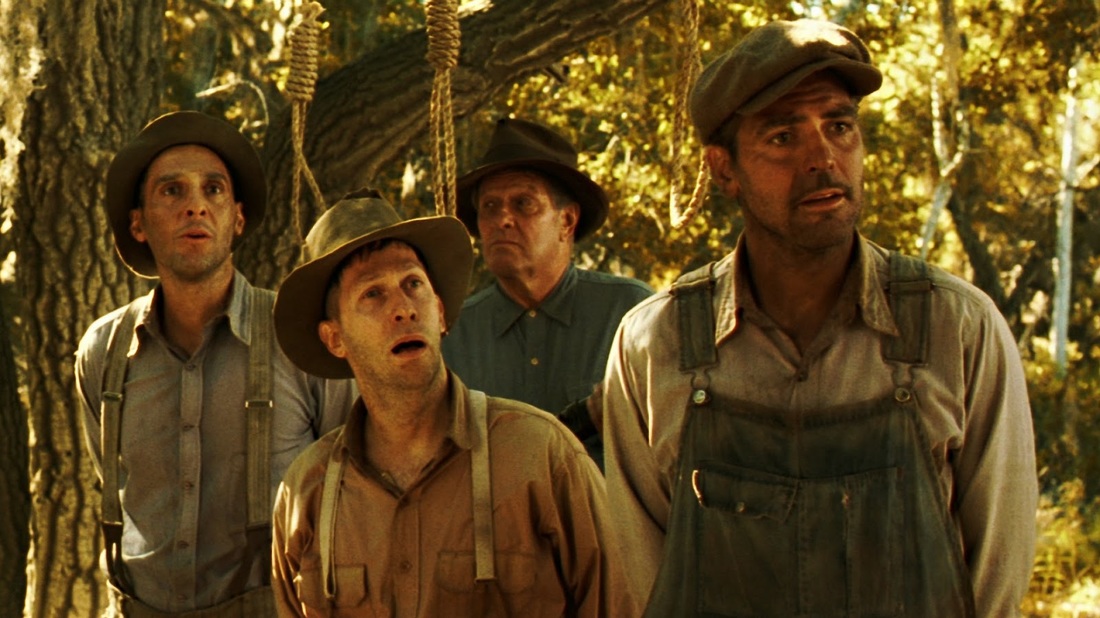
Muted Sepia [O-Brother-Where-Art-Thou]
|
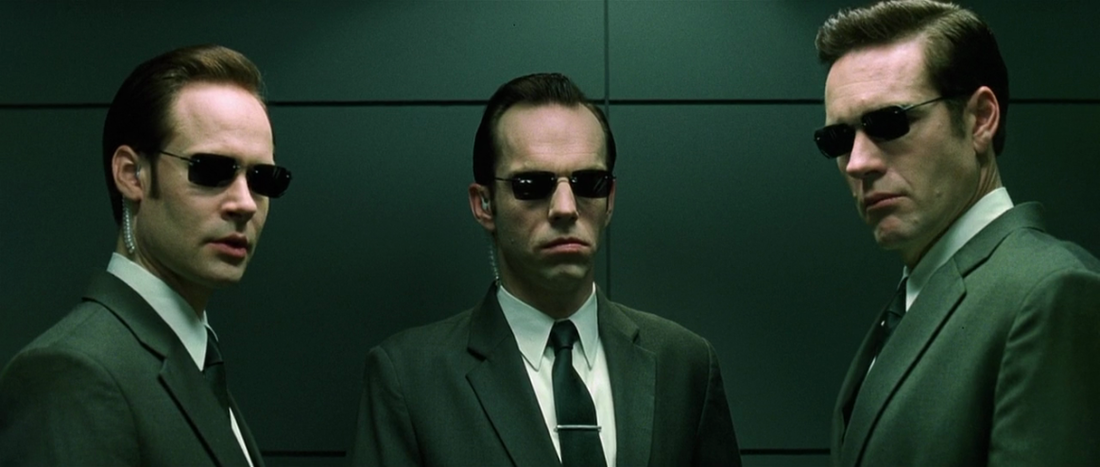
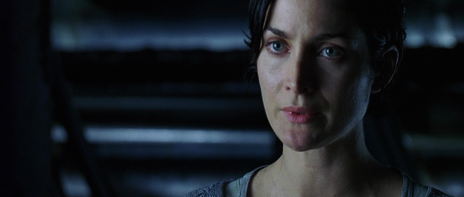
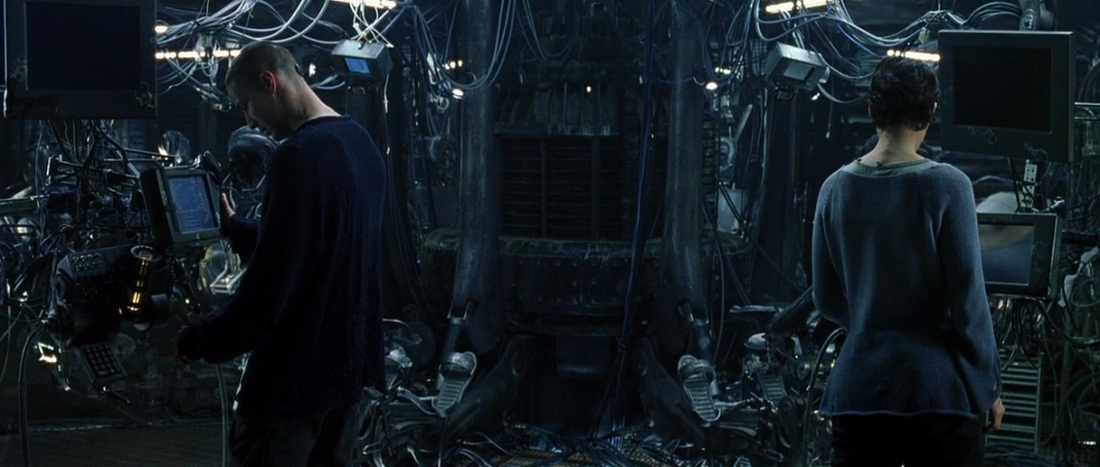
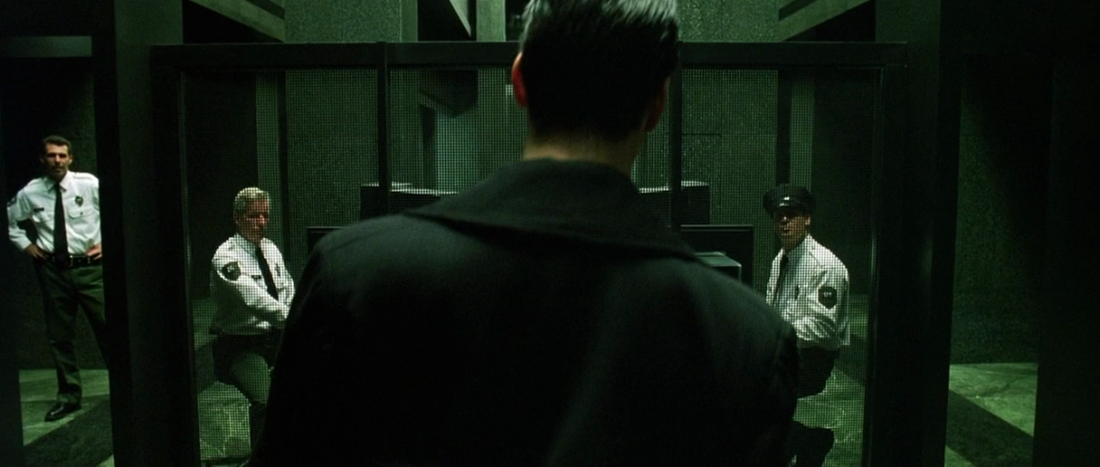
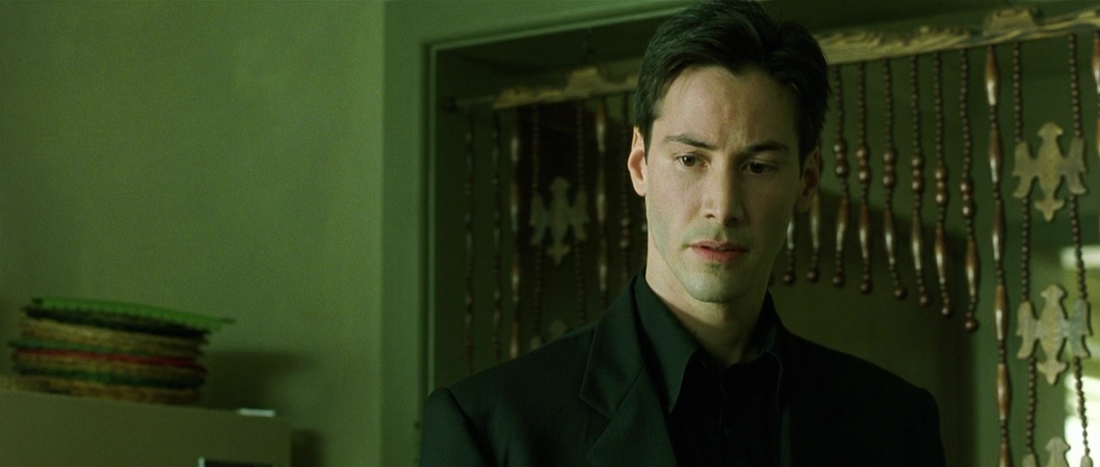
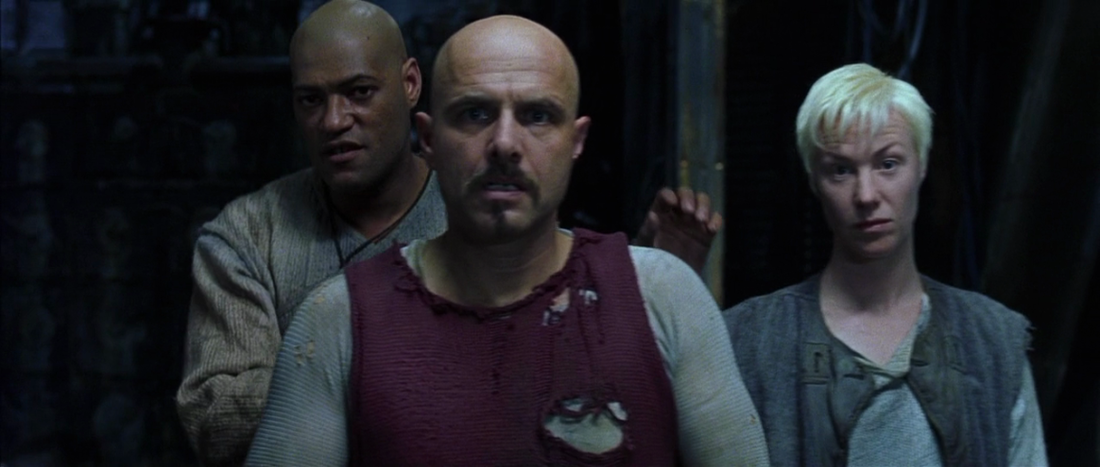
Taking the Matrix as an example we see a clear differentiation between the 'real world' and the 'matrix' through a constant Blue vs Green tone to the images.
|
|
|
|
|
|
|
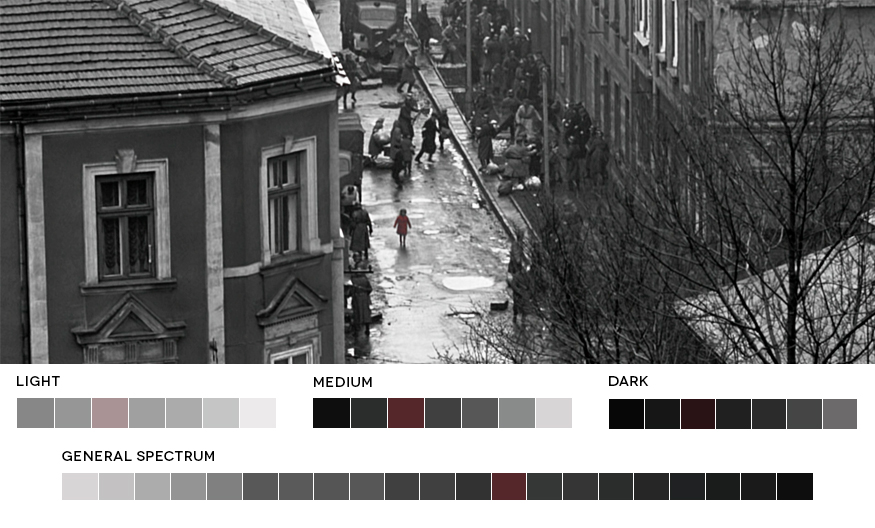
Colour Isolation [Schindler’s List]
|
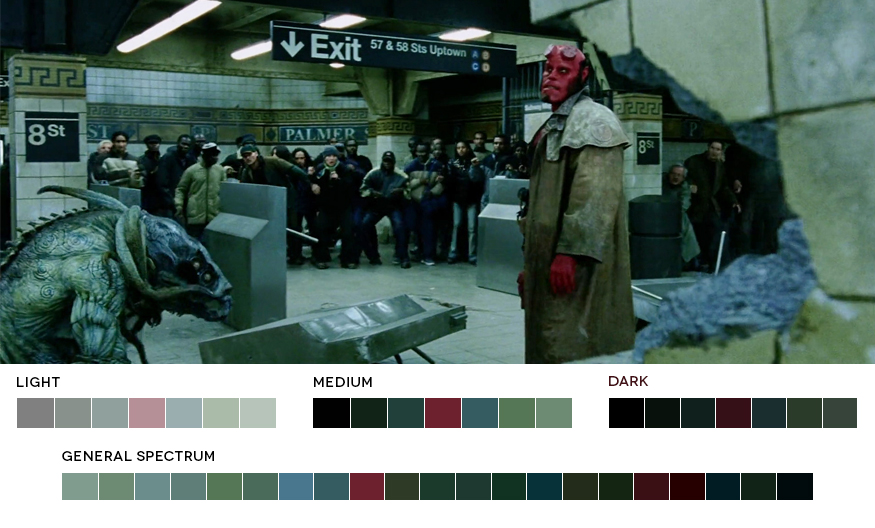
Colour Isolation [Hell Boy]
|
|
|
|
|
|
|
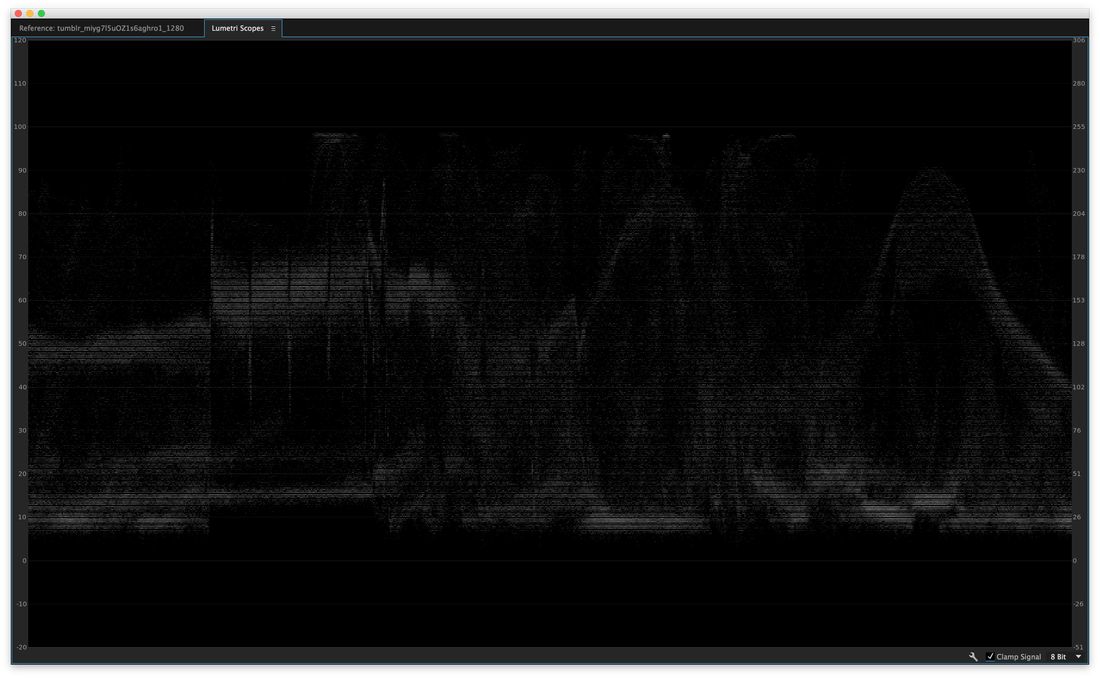
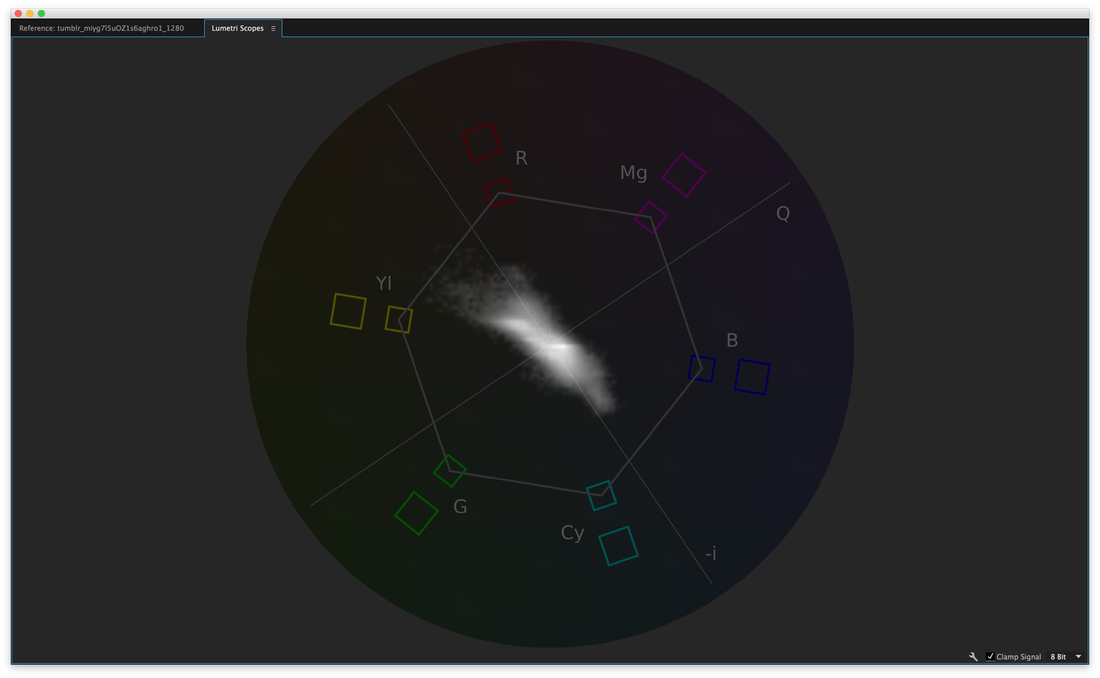
Scopes
Before you apply a look or style to your footage you will need to correct exposure issue and balance out the footage. This becomes more difficult when shooting in the same location on different day/time with different lighting conditions. A key tool to visualy represent exposure values is a Waveform Scope - Luma. Left to Right represents the sum of the image and vertical from 0 Blacks to 100 Whites. Anything below this range is being Crushed and everything over is being Clipped. When filming we want to maximise this range we capture from light to dark to ensure as much detail as possible is in the image. This is called Dynamic range. Another scope used to analysis Saturation is call a Vector Scope. This represents the amount of colour within the image. The centre point being zero saturation and the outer targets representing its corresponding colour. 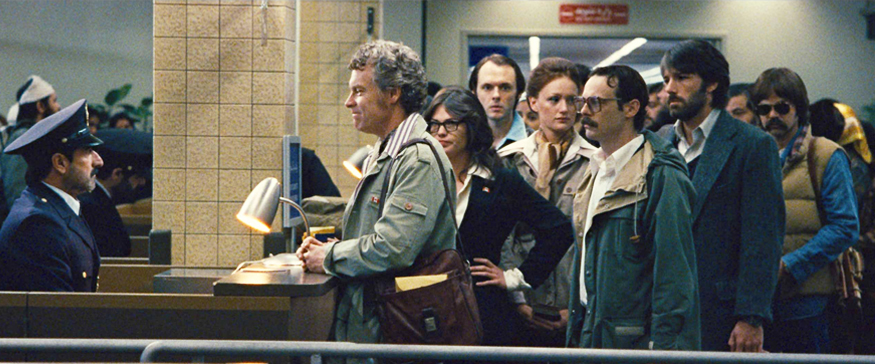
|
|
|
Dynamic range
We have already mentioned Dynamic range. The amount of detail we have across the range of tones in an image. there are two ways of recording this data Linearly or Logarithmic. The bellow link explains this in detail. For now take note that Logarithmic gives equal importance to the whole spectrum of tones giving more detail in the lighter and darker areas of an image. http://www.qvolabs.com/Digital_Images_ColorSpace_Log_vs_Linear.html |
Picture Profiles/Picture Styles
When the camera records media it determins how it perceives the data. Cameras have picture profiles or pictures style where it will apply contrast, brightness, sharpness and saturation changes to the image. By taking control of these profiles we can ensure we are getting the best image and dynamic range from our camera. These profiles may come in the form of something called V-Log or the canon specific style Cinestyle made by Technicolor. http://www.technicolor.com/en/solutions-services/cinestyle |
LUT's
LUT means “Look Up Table.” It’s helpful to think of it like a math problem: R= S+L “R” being your result or what you want to attain. “S” being your source or what you start with. “L” being your LUT or the difference needed to make up between your source and your desired outcome. LUTS are predefined colour alterations that can be applied to video. http://nofilmschool.com/2011/05/what-is-a-look-up-table-lut-anyway |
White Balance
Setting a correct white balance is important when filming to ensure correctly looking footage is captures. But there is no reason that this can not the be manipulated to change the balance of warm and cool tones to suit your needs. - filmmakeriq.com
Setting a correct white balance is important when filming to ensure correctly looking footage is captures. But there is no reason that this can not the be manipulated to change the balance of warm and cool tones to suit your needs. - filmmakeriq.com
|
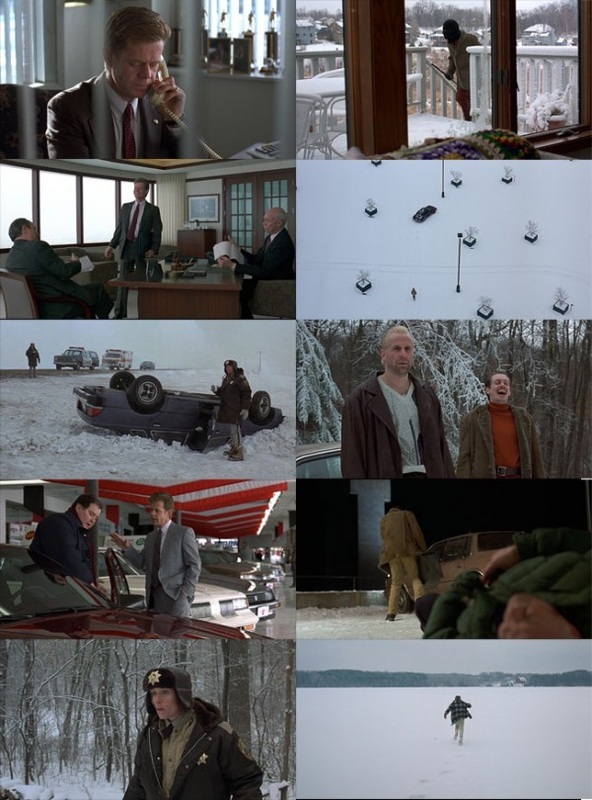
Fargo
|
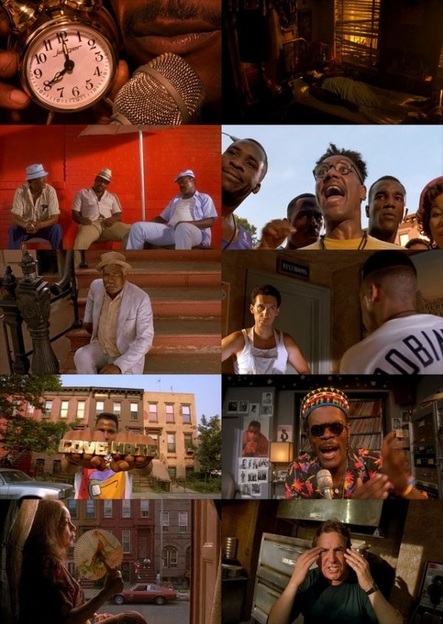
Do the Right Thing
|
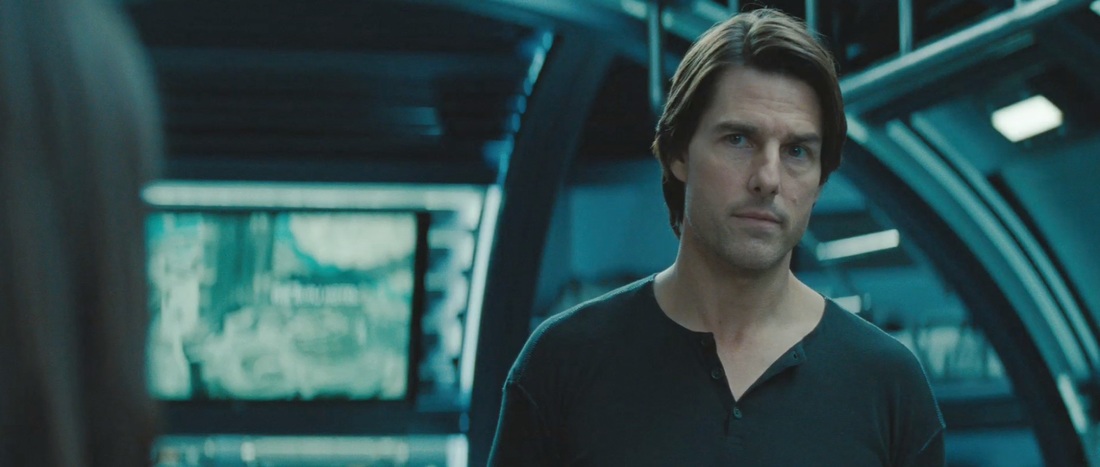
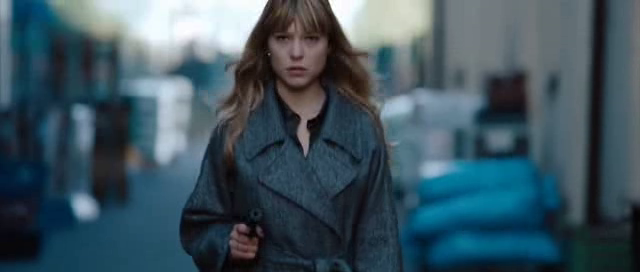
Hollywood + Teal & Orange
Noticing a pattern? a whole swayed of films have come out with a Teal and Orange colour palette giving a nice contrast and mixture of cool and warm tones. Many films are using this combination because Teal and Orange are opposite each other on the colour wheel giving contrast yet staying complimentary. Some films have chosen to then boost the orange saturation in the skin tones and others have dialled this back to a more neural look. For example Mission Impossible Ghost Protocol clearly has the teal but not over done the organe..
Noticing a pattern? a whole swayed of films have come out with a Teal and Orange colour palette giving a nice contrast and mixture of cool and warm tones. Many films are using this combination because Teal and Orange are opposite each other on the colour wheel giving contrast yet staying complimentary. Some films have chosen to then boost the orange saturation in the skin tones and others have dialled this back to a more neural look. For example Mission Impossible Ghost Protocol clearly has the teal but not over done the organe..
|
|
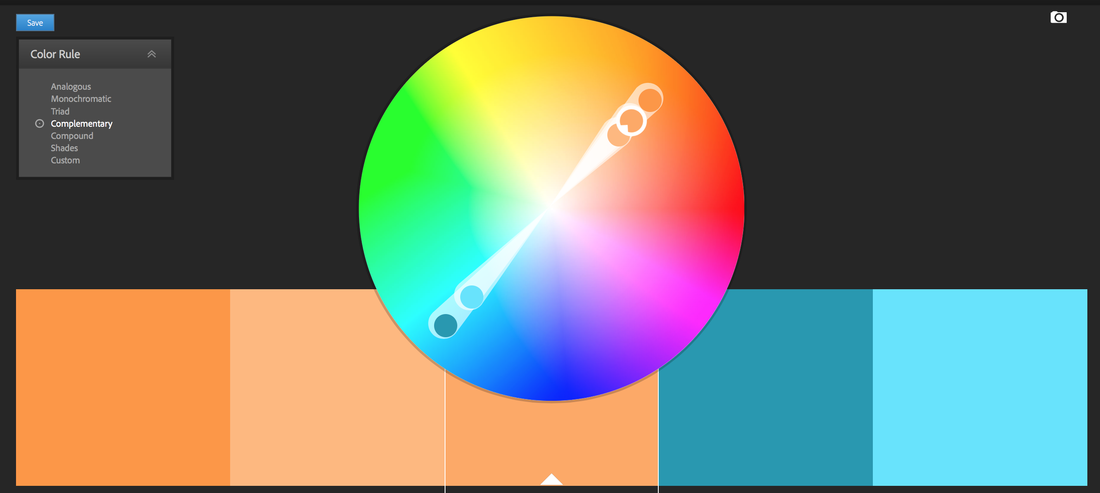
This was created using Adobes Kuler or now called Adobe Color CC. An online app for experimenting with Colour to generate complimentary colours and a create resource for working with colour in any medium; print, film, web design or even fashion. Another good resource for looking at colour palettes within film is Movies In Colour - http://moviesincolor.com/films
|
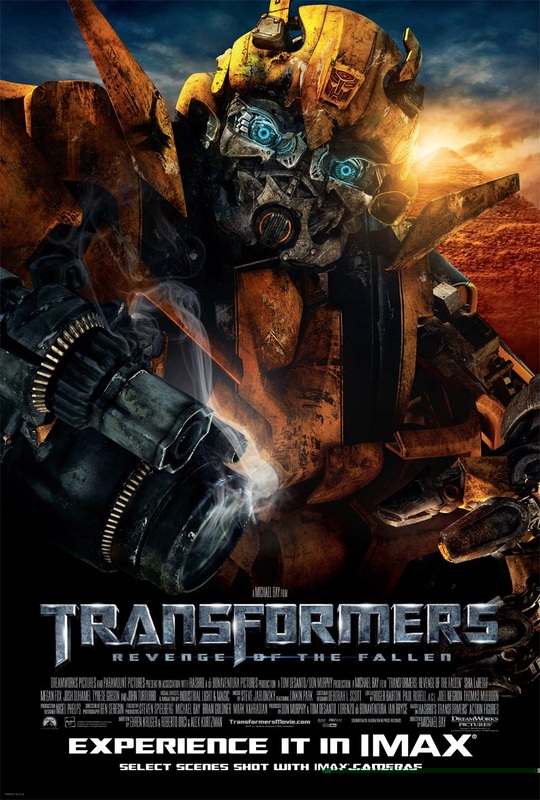
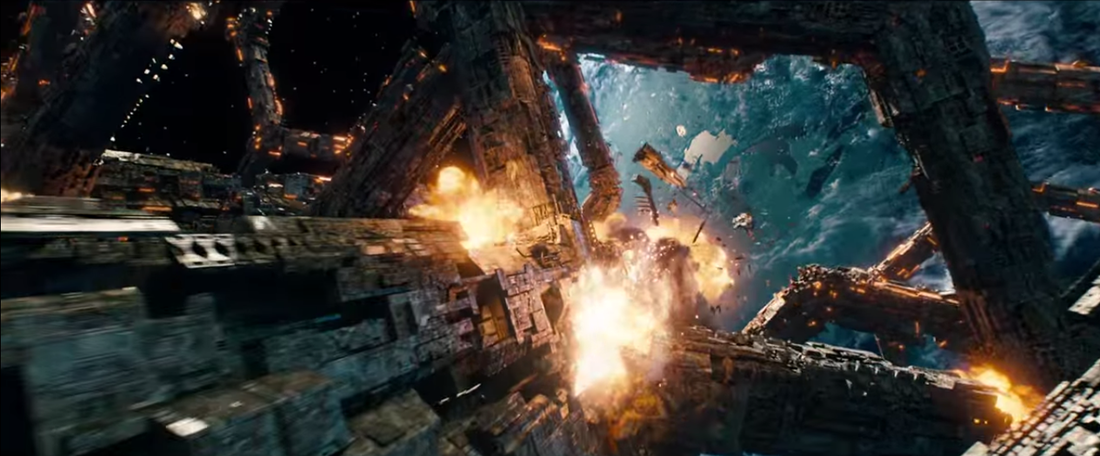
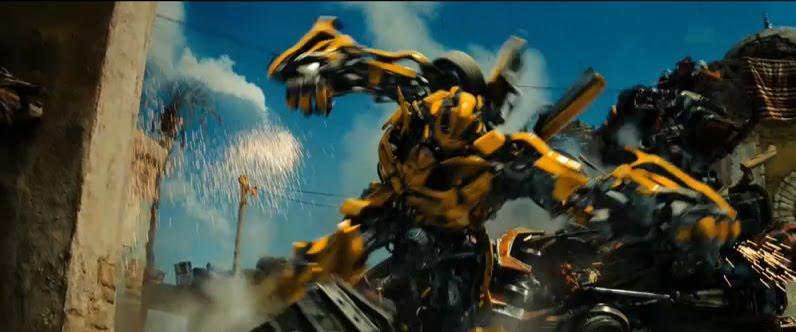
Transformers
|
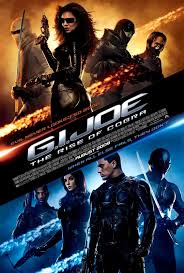
Gi Joe
|
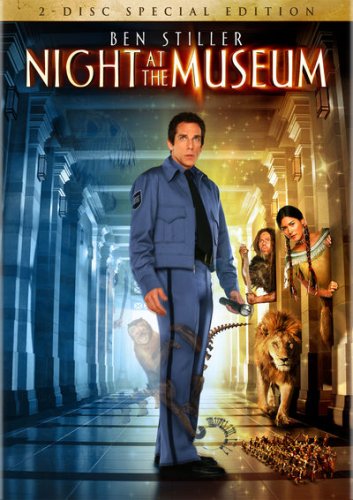
Night...Museum
|
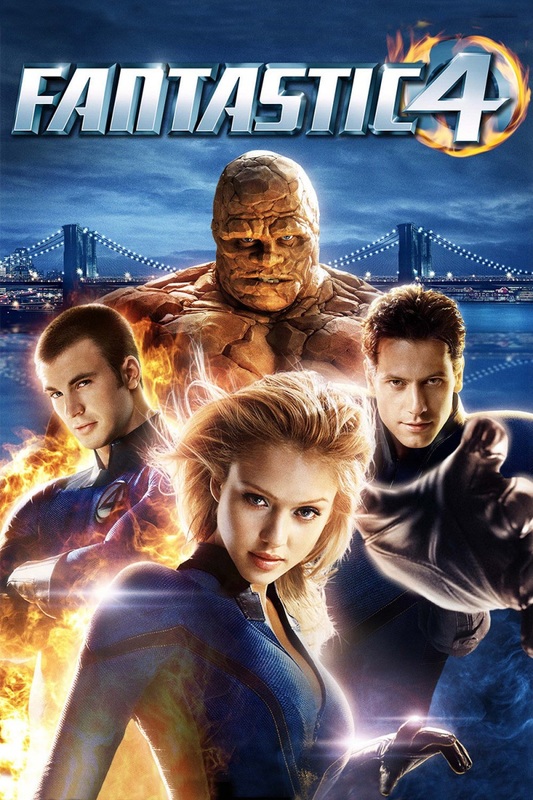
Fantastic 4
|
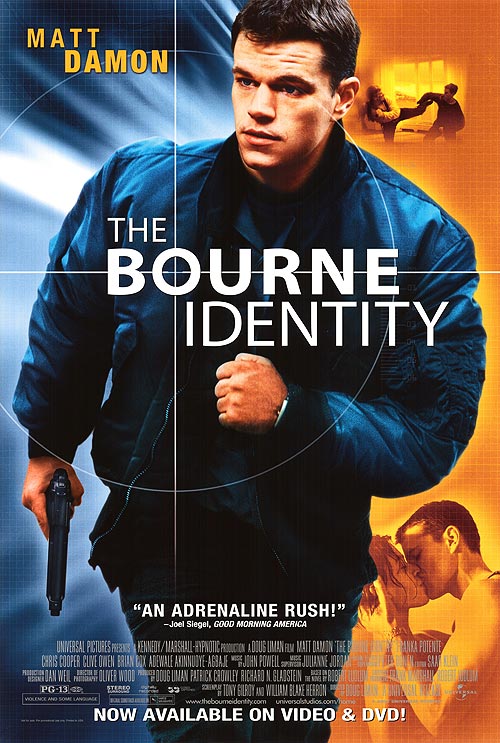
Bourne Identity
|
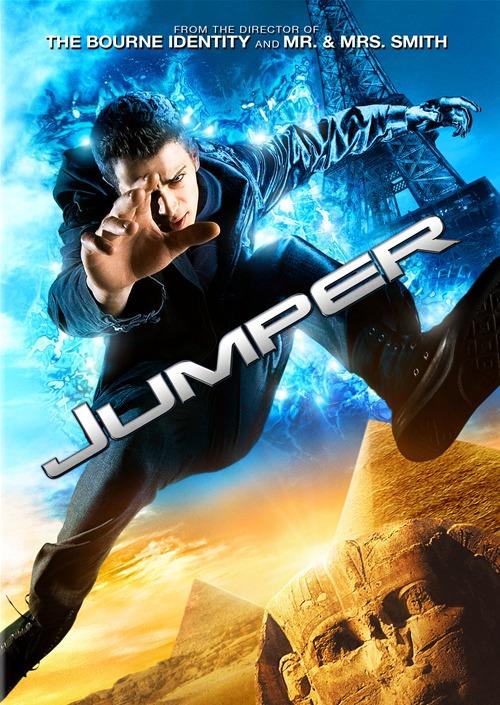
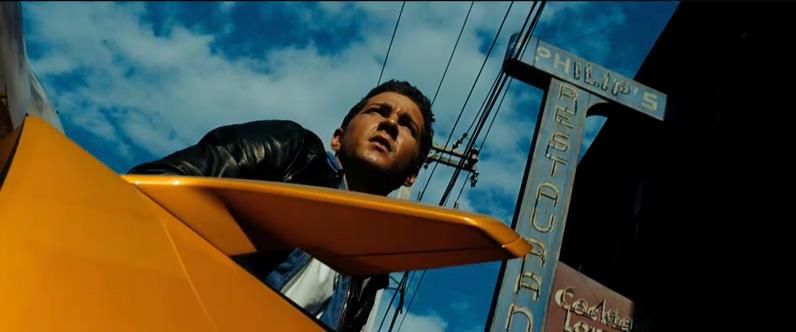
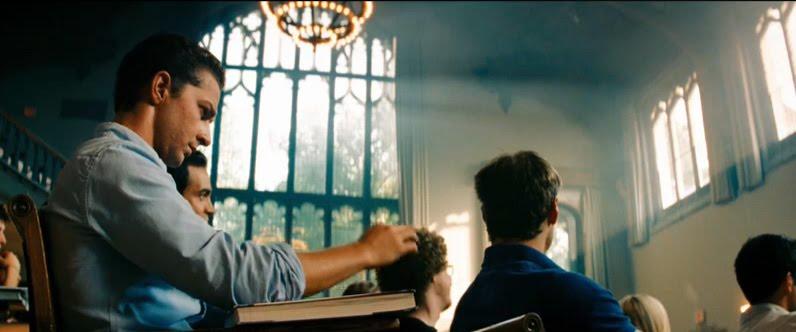
Jumper
|
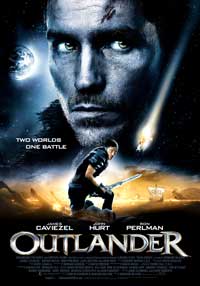
Outlander
|
|
|
Transformer is an example of heavy teal/orange with saturated skin tones. Interestingly you can also see this across the film posters.
|
|
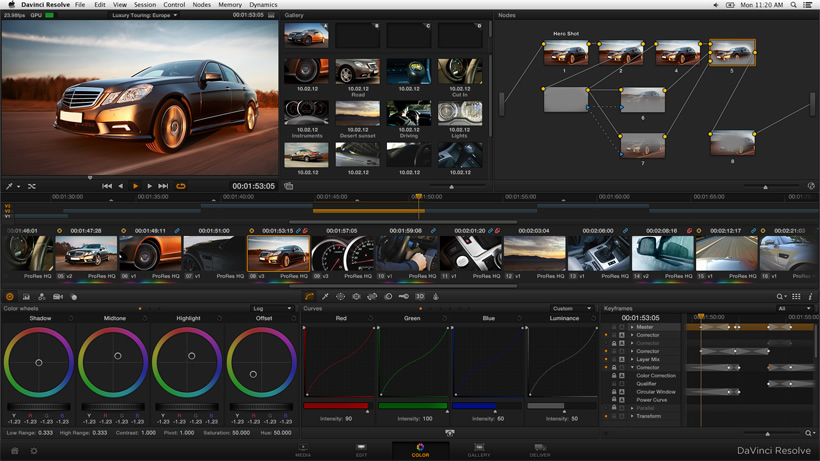
Tools for Colour Correction and Grading
There are specialist tools for this job like Blackmagics Davinci Resolve but every NLE system comes with some basic tools be it iMovie, Final Cut Pro X or Premiere Pro for example. There are also specialist plug-ins such as Color Finale or Ged Giant Magic Bullet to bring more options to the standard NLEs tools.
The tools share many aspects and the tequniques behind them are all the same. Here are a few videos that may be of interest.
|
|
|
|
|
|
|
Inadvertently this video may be of interest in understanding what is going on behind the scenes when apply filers and making changed to pixel data.
|
|
